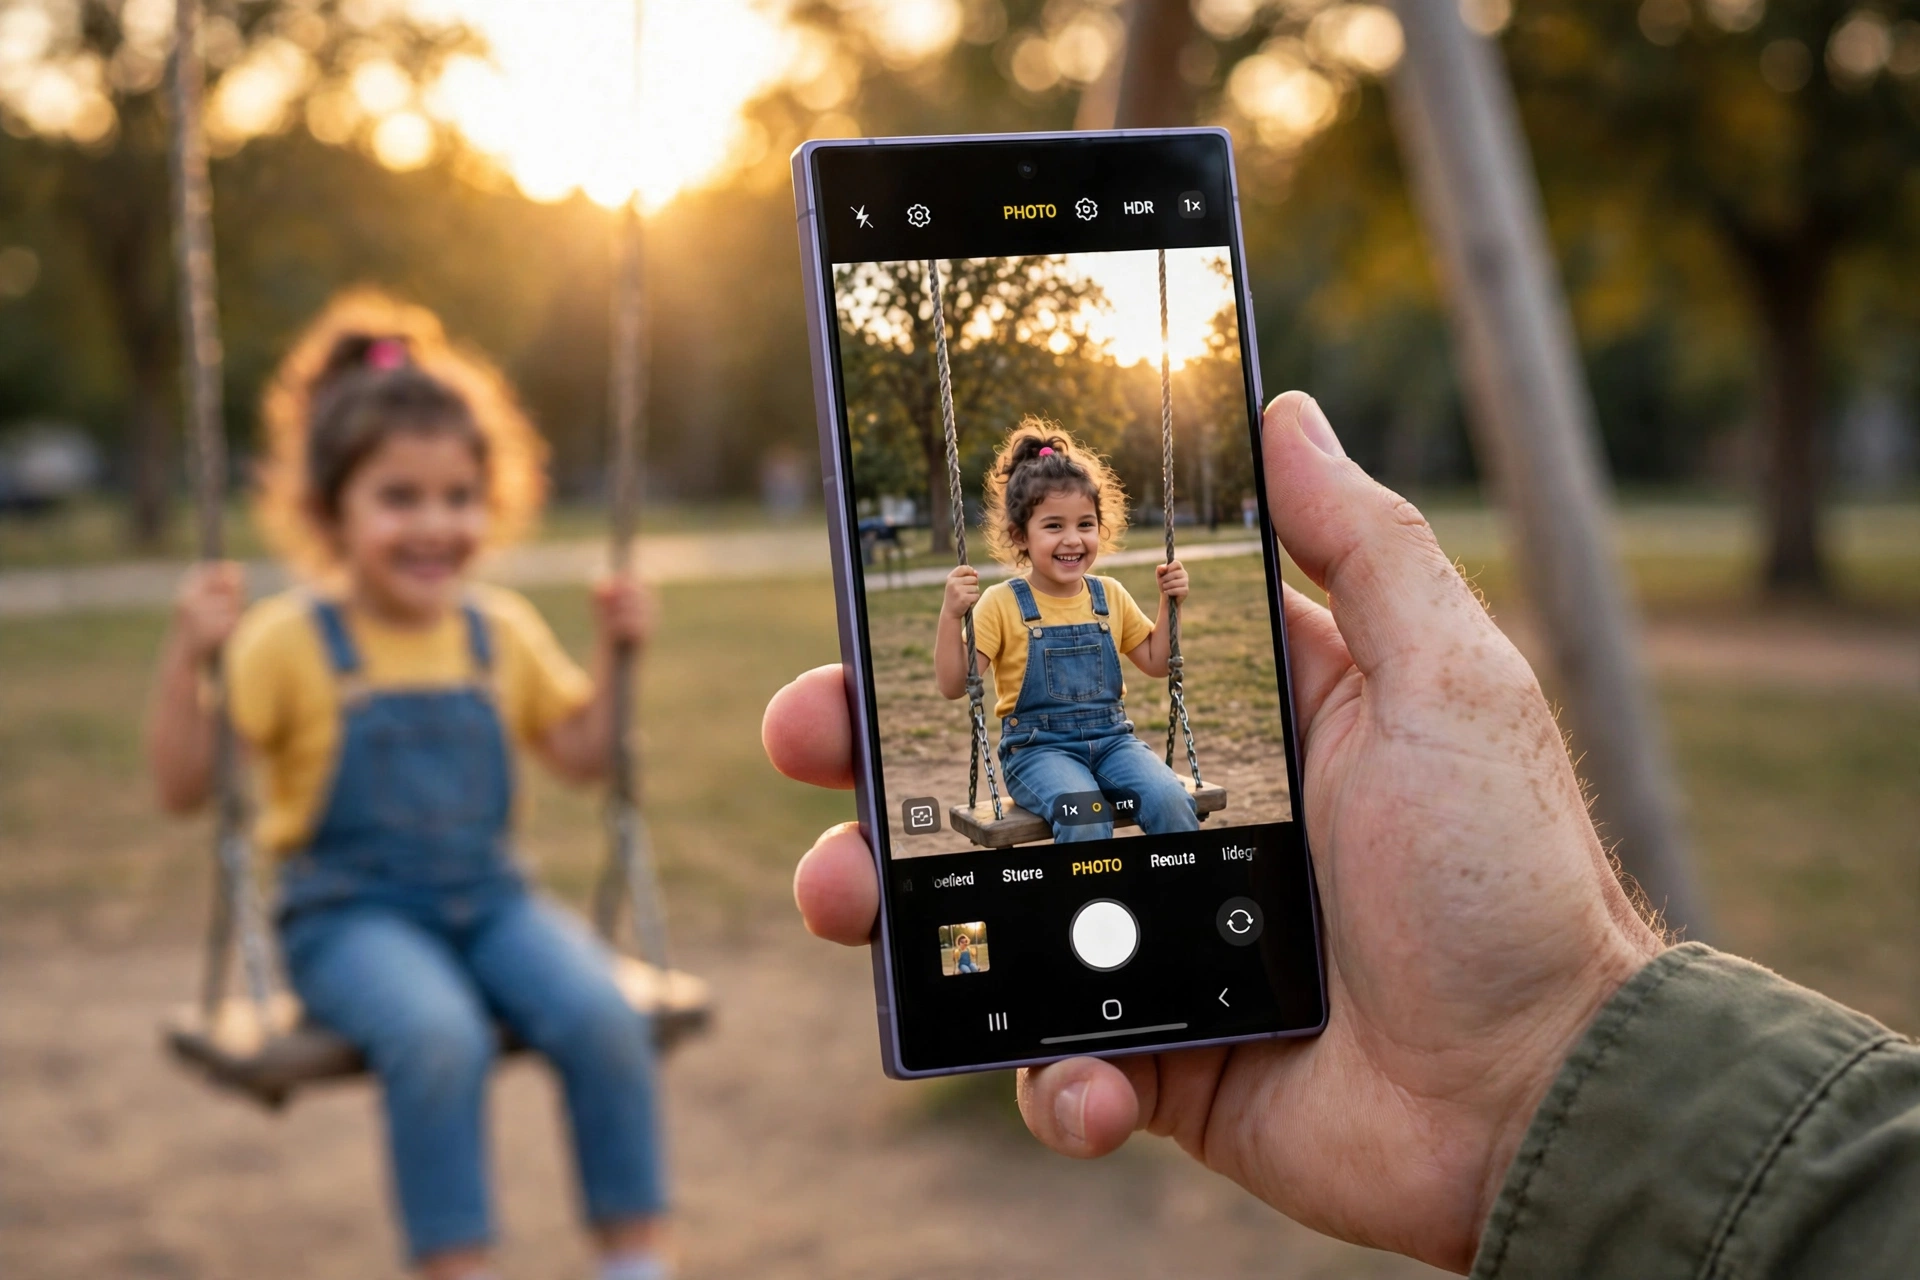
5 Samsung Galaxy S26 Ultra Camera Tricks in 2026: Better Photos and Videos Like a Pro
Table of Contents
- Introduction: Your 200 MP Camera Is Shooting at 12 MP
- The 5-Minute Setup: Do This First
- Trick 1: Turn On 24 MP Mode
- Trick 2: Make Colours Look Real Again
- Trick 3: Portraits That Actually Look Like Portraits
- Trick 4: Night Mode, Done Right
- Trick 5: Video That Looks Like You Meant It
- The Cheat-Sheet: Every Setting in One Table
- When to Use Each Trick (and When Not To)
- Hypothetical Example: One School Evening, Five Tricks
- 5 Mistakes That Undo All of This
- Your 5-Minute Checklist
- Conclusion
- FAQs
5 Samsung Galaxy S26 Ultra Camera Tricks in 2026: Better Photos and Videos Like a Pro
Introduction: Your 200 MP Camera Is Shooting at 12 MP
You bought the Samsung Galaxy S26 Ultra camera with a 200-megapixel sensor, took a photo of your kids in the garden, and it looks… fine. Just fine. A little too bright, a little too sharp, the colours a touch louder than real life. And when you check the file, it is a 12-megapixel photo.
That is the quiet joke at the heart of the Samsung Galaxy S26 Ultra camera. The hardware is superb — 200 MP main, 50 MP ultra-wide, 50 MP 5× telephoto and 10 MP 3× telephoto — but Samsung ships the Samsung Galaxy S26 Ultra camera with safe, simple settings switched on. The Samsung Galaxy S26 Ultra camera defaults to 12 MP photos, heavy colour processing and automatic lens switching — defaults that work for everyone, a little, and brilliantly for no one.
The fix takes five minutes and costs nothing. The Samsung Galaxy S26 Ultra camera already contains everything in this article — the best settings are simply hidden in Camera Assistant, in a menu called Intelligent features, or behind a toggle you would never tap by accident. Below are five tricks, in the order that matters most, each with exact steps, plus a cheat-sheet table and a checklist at the end.
The 5-Minute Setup: Do This First
Do this two-minute setup first. It makes every trick below work properly on the Samsung Galaxy S26 Ultra camera, and it stops the phone from undoing your work.
1. Install Camera Assistant. Install it from the Galaxy Store — on One UI 8.5 it appears inside the Camera app; on older versions, inside Good Lock. It is free, made by Samsung, and it holds the most useful camera controls. Without it, you cannot switch on 24 MP mode, bring back the standalone Night mode, or turn off picture softening.
2. Install Expert RAW. Also free, also from the Galaxy Store. You will use it for Virtual Reflector portraits and night-sky shots.
3. Set Photo enhancer to Prioritize quality. Open the Camera app, tap the gear icon, go to Intelligent features, and set Photo enhancer to “Prioritize quality”. This matters: according to Samsung, photos only save at 24 MP with this option set. On “Balanced” or “Prioritize speed”, the Samsung Galaxy S26 Ultra camera drops back to 12 MP even if you switched 24 MP on — the reason many owners turn on 24 MP, take a photo, and find a 12 MP file.
4. Switch the photo format to HEIF. In Camera settings, under Photo format, choose High efficiency (HEIF). A HEIF photo is roughly half the size of a JPEG with the same detail — about 3 MB instead of 6 MB — and it keeps 10-bit colour, for smoother skies and skin tones. Stay on JPEG only for very old software that cannot open HEIF files.
5. Tell the camera to remember. In Camera settings, open “Settings to keep” and switch on Camera mode and Exposure. By default, the Camera app forgets most of your choices when you close it. With these on, it reopens in the mode you last used and keeps your exposure adjustment. Switch “High picture resolutions” to Off in the same place, so a 200 MP shot never sticks by accident.
Now the tricks.
Trick 1: Turn On 24 MP Mode
This is the single biggest improvement you can make to the Samsung Galaxy S26 Ultra camera, and it is the setting almost nobody finds, because Samsung hides it.
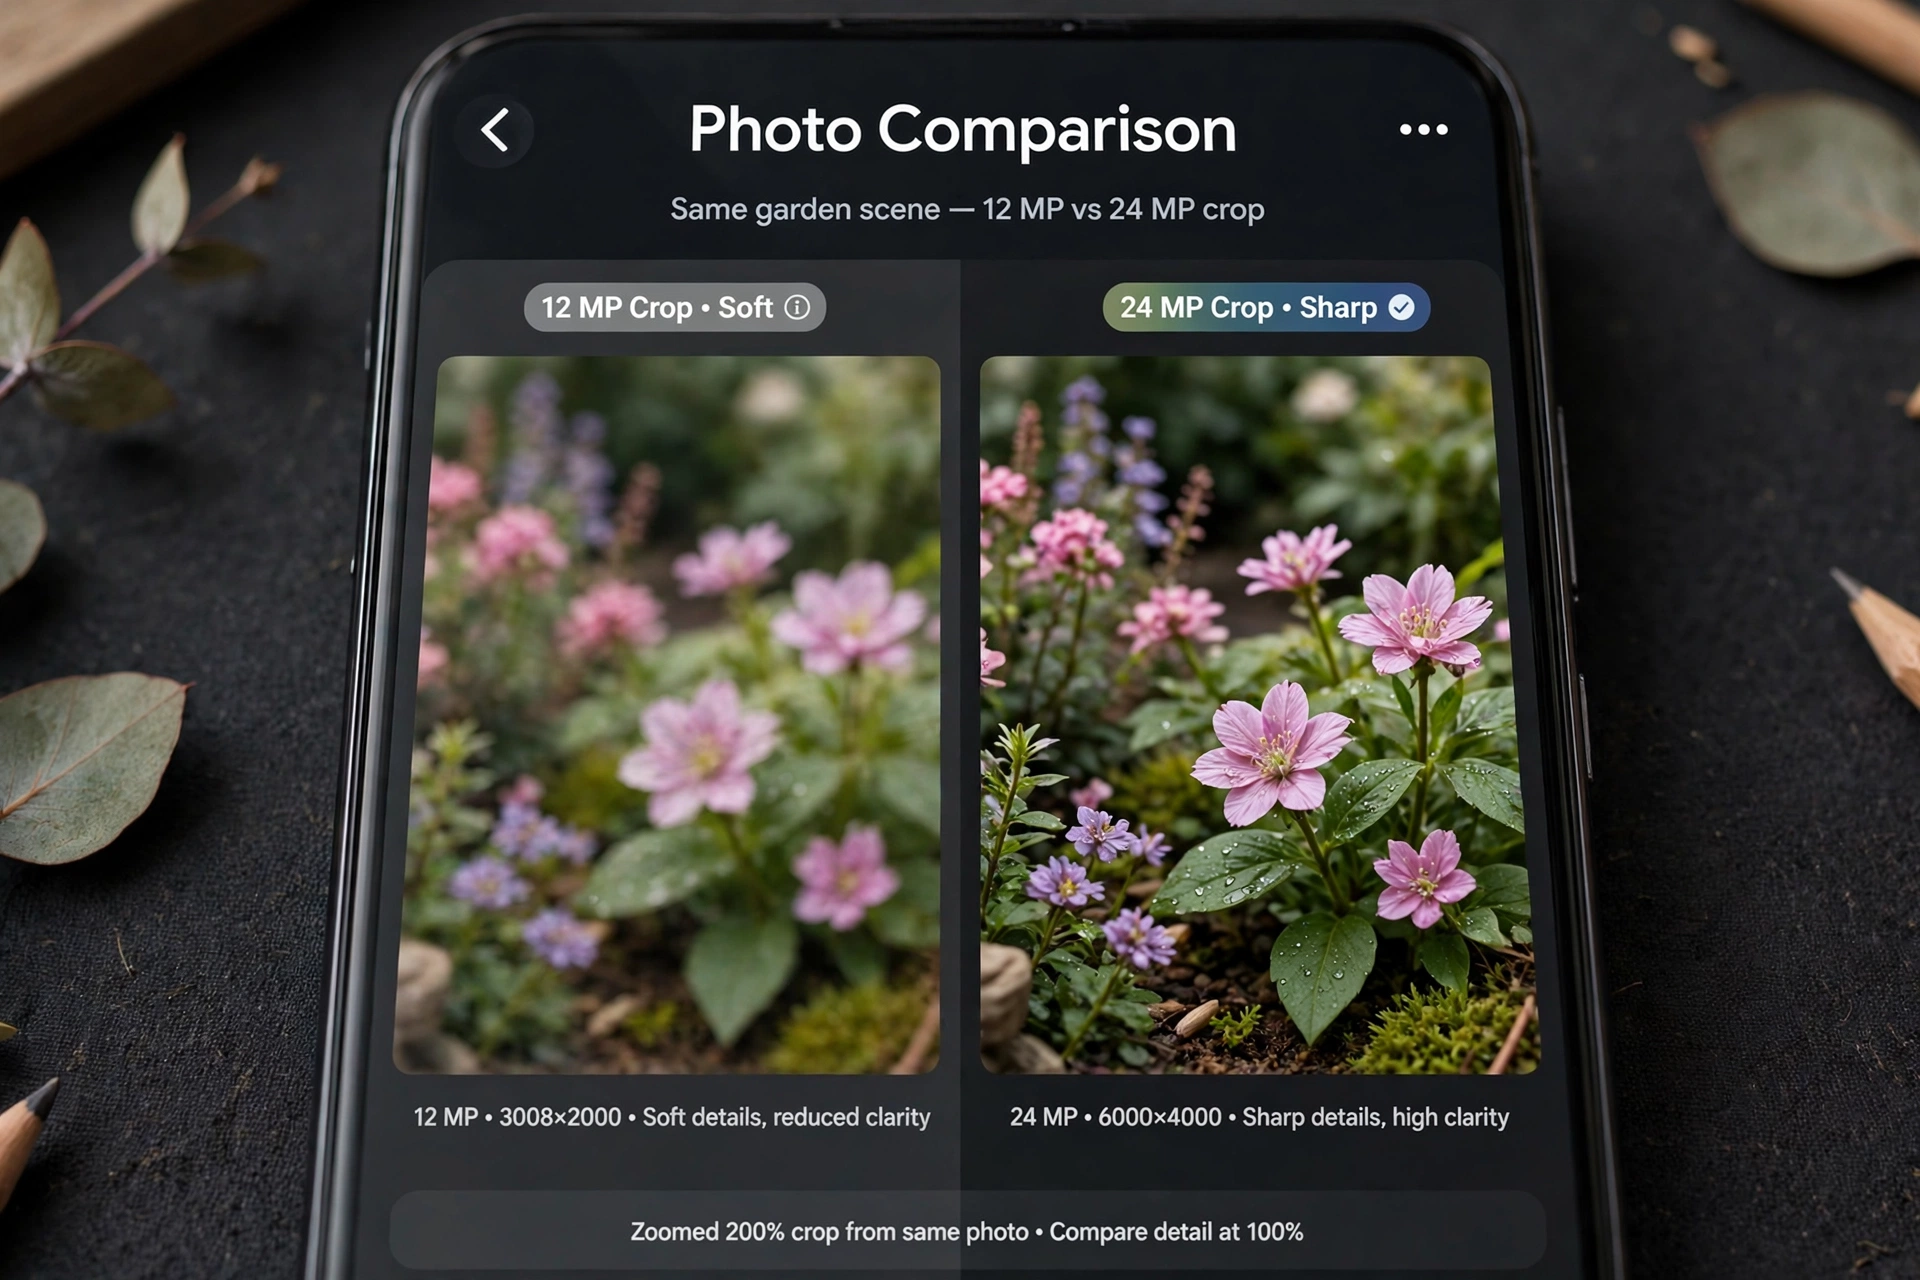
The Samsung Galaxy S26 Ultra camera has a 200 MP sensor, but it takes 12 MP photos by default through pixel binning: it groups pixels together to make a cleaner, smaller file. That is sensible in a dark room, but in daylight the Samsung Galaxy S26 Ultra camera throws away detail you paid for. A 200 MP photo, on the other hand, is a 25–40 MB file — far too big for everyday shots. The sweet spot is 24 MP: noticeably more detail than 12 MP, far better crops, and small files.
Here is how to switch it on:
- Open the Camera app.
- Open Camera Assistant (inside the Camera app on One UI 8.5, or through Good Lock on older versions).
- Find 24 MP resolution, switch it on, and switch on Keep 24 MP resolution too.
- Check that Photo enhancer is set to Prioritize quality (see the setup above) — without this, 24 MP will not stick.
Note: 24 MP applies at 0.6×–1.9× and 5×–9.9× zoom; at other zoom levels the Samsung Galaxy S26 Ultra camera still saves at 12 MP.
When to use it: everyday photos in decent light, landscapes, and anything you might crop or print later.
When not to use it: very dark scenes, fast action, and bursts. In low light, 12 MP pixel binning gathers more light per pixel for a cleaner shot, and it saves faster, so you miss fewer moments.
When to use 200 MP instead: bright, still scenes you plan to crop hard or print large. In Photo mode, tap the resolution button and choose 200 MP on the 1× camera. Do not leave it on — one 200 MP photo costs about the same storage as ten everyday photos.
Trick 2: Make Colours Look Real Again
If your Samsung Galaxy S26 Ultra camera photos look like postcards — grass a little too green, skin a little too smooth, edges a little too crunchy — that is not your eye. It is the processing. The Samsung Galaxy S26 Ultra camera applies heavy colour, sharpening and smoothing by default, and three small changes fix most of it.
Turn off Scene Optimizer. Open Camera settings, go to Intelligent features, and switch off Scene Optimizer (on newer One UI versions it is called Scene detection, under Photo enhancer). It boosts colours — often too far: forests turn neon, sunsets turn orange. With it off, colours stay closer to what you actually saw. If you miss the punch, add it back in the Gallery app — you cannot undo processing baked into the original file.
Soften the softening. Inside Camera Assistant there is a setting called Picture Softening. Samsung’s default processing smooths skin and fine detail so aggressively that fabric looks like plastic and hair looks painted. Set Picture Softening to Medium or High — slightly less “clean” on the phone screen, far more real in print.
Nudge the exposure down. The Samsung Galaxy S26 Ultra camera meters bright — it makes everything a little lighter than it is, which blows out skies and white shirts. In Photo mode, drag the exposure slider down to about −0.3. That small change holds the sky together and deepens the shadows. In “Settings to keep”, switch Exposure on so the −0.3 stays set between sessions.
Together, these three changes are the difference between a photo that looks like a phone took it and a photo that looks like you took it. The Samsung Galaxy S26 Ultra camera has a ƒ/1.4 main lens that lets in far more light than last year’s phone — and with the processing calmed down, that sensor finally gets to speak for itself.
Trick 3: Portraits That Actually Look Like Portraits
Portraits fail on the Samsung Galaxy S26 Ultra camera for two reasons: the wrong lens, and the wrong light. The Samsung Galaxy S26 Ultra camera gives you the tools for both, if you know where they are.
Use the 3× or 5× lens, not the 1×. For a portrait, step back and use the 3× telephoto (10 MP, ƒ/2.4) or the 5× telephoto (50 MP, ƒ/2.9) instead of the main camera. A longer lens flattens faces naturally — noses look normal, backgrounds fall soft — while the 1× camera, used close up, widens a face. Try 3× first; switch to 5× in good light for more background blur.
Stop the phone choosing your lens. By default, the Samsung Galaxy S26 Ultra camera switches lenses automatically based on light, distance and zoom. That sounds clever until it switches to a worse lens in the middle of a portrait session and you do not notice until later. In Camera Assistant, under Lens and Zoom, switch off Auto Lens Switching. Now the lens you pick is the lens you get.
Use the Virtual Reflector for tricky light. Open Expert RAW, tap the flask (Labs) icon, and switch on Virtual Reflector. It adds a virtual Silver (neutral) or Gold (warmer) light to your subject’s face, with adjustable strength and direction — made for a bright day and a shaded face. The Virtual Reflector lifts just the face. It works in Expert RAW, so the photo is also a RAW file you can edit properly later. In hard backlight, take the same shot in normal Photo mode as a backup: Portrait mode can struggle with flyaway hair.
Trick 4: Night Mode, Done Right
Night photos are where the Samsung Galaxy S26 Ultra camera earns its price — and where most owners get confused, because Samsung changed Night mode.
Since One UI 8.5, Night mode is built into Photo mode, not a separate mode: when the Samsung Galaxy S26 Ultra camera detects low light, a small moon icon appears, and you can set it to Auto, Max or Off. Auto is right most of the time. Max takes longer — the Samsung Galaxy S26 Ultra camera holds the shutter open and combines frames — and it is worth it for a still scene, like a street at dusk. Off is for the rare case where you want the dark to stay dark.
Three practical rules for night shots:
- Use 12 MP at night, not 24 MP. Pixel binning is your friend in the dark. The 12 MP mode combines pixels to gather more light, which means less noise. Switch back to 24 MP in the morning.
- Hold still, or rest the Samsung Galaxy S26 Ultra camera on something. Night mode combines several frames, so any movement becomes blur. A wall, a table, a car roof — anything solid doubles your chances.
- Turn off Auto Flash. A flash ruins the mood and the photo, and with it off the moon icon can appear. The 5× telephoto is also worth trying at night: it captures more light than the previous generation’s telephoto, so a stage or a skyline comes out better than you would expect.
Expert RAW also has an Astrophotography mode for the stars — tripod required, minutes not seconds.
Trick 5: Video That Looks Like You Meant It
Most people shoot video on the defaults and wonder why it looks shaky or washed out. The Samsung Galaxy S26 Ultra camera has a serious video kit inside — you just have to choose it.
Set your video resolution once. In Video mode on the Samsung Galaxy S26 Ultra camera, tap the resolution chip. For everyday clips, 4K at 30 fps is the best balance. For movement — kids running, a walk through a market — switch to 4K at 60 fps. For a film look, use 24 fps in Pro video. Switch Auto FPS off in Camera settings, or the Samsung Galaxy S26 Ultra camera quietly drops your frame rate in low light and your footage stutters. Keep Video stabilization on for handheld clips.
Super Steady, and the new Horizontal Lock. Super Steady is Samsung’s strongest stabilisation — it crops in a little and smooths out walking, running, and bumpy rides. Tap the Super Steady icon in Video mode to switch it on. New on the S26 Ultra, Horizontal Lock keeps the horizon level even if you rotate the phone. Switch both on for walking shots (the trade-off is a slightly narrower field of view); switch Super Steady off on a tripod.
Log video and APV — only if you will edit. In Camera settings → Video format, you can switch on Log and the APV codec (Advanced Professional Video, new on the Ultra). Log records a flat, grey-looking image on purpose, so you can add colour back later with LUTs — cinematic looks like Standard, Blockbuster or Romance. APV keeps far more detail for grading. Both are traps for casual shooters: Log footage looks terrible ungraded, and APV is enormous — roughly 6 GB per minute at 4K 30 in high quality, against about 350 MB per minute for normal HEVC 4K 30. If you will grade the clip in an editing app, use Log and APV on the Samsung Galaxy S26 Ultra camera. If you will share it straight from the Samsung Galaxy S26 Ultra camera, leave both off.
The Cheat-Sheet: Every Setting in One Table
Screenshot this table — every Samsung Galaxy S26 Ultra camera setting above, in one place.
| Setting | Where to find it | Choose this | Why |
|---|---|---|---|
| Photo enhancer | Camera settings → Intelligent features | Prioritize quality | 24 MP needs this |
| 24 MP resolution | Camera Assistant → 24 MP resolution | On, plus Keep 24 MP | More detail, small files |
| Scene Optimizer | Camera settings → Intelligent features | Off | Natural colours |
| Picture Softening | Camera Assistant | Medium or High | Less plastic-looking skin |
| Photo format | Camera settings → Photo format | High efficiency (HEIF) | Half the size of JPEG |
| Exposure | Photo mode slider, then Settings to keep | −0.3 | Saves skies and highlights |
| Auto Lens Switching | Camera Assistant → Lens and Zoom | Off | You choose the lens, not the phone |
| Settings to keep | Camera settings → Settings to keep | Camera mode On, Exposure On, High resolutions Off | Setup survives a restart |
| Video resolution | Video mode → resolution chip | 4K 30 fps (everyday), 4K 60 fps (movement) | Best balance |
| Auto FPS | Camera settings → Videos | Off | Frame rate stays put |
| Video stabilization | Camera settings → Videos | On | Steadier handheld clips |
| Log / APV | Camera settings → Video format | Off unless you grade footage | Flat, huge files otherwise |
When to Use Each Trick (and When Not To)
Use this table when you are out shooting and need a fast answer.
| Situation | Use this | Avoid this |
|---|---|---|
| Sunny day, landscapes | 24 MP, 1× lens, exposure −0.3 | 200 MP for every shot |
| Portraits outdoors | 3× or 5× lens, Virtual Reflector in shade | 1× lens up close |
| Kids running around | 12 MP, Quick tap shutter, “Capture” | 200 MP, Log video |
| Night out, city lights | Night mode Auto, 12 MP, phone on a wall | Flash, 24 MP |
| Walking video | Super Steady + Horizontal Lock, 4K 60 fps | 8K (overheats, huge files) |
| Everyday family clips | 4K 30 fps, HEVC, stabilization on | APV (about 6 GB per minute) |
Hypothetical Example: One School Evening, Five Tricks
Hypothetical Example — this is a fictional scenario written to show how the tricks work together, not a real person’s story.
Maria is a mum in Ohio. Her daughter has a school play at 7 pm, and she wants photos and a short video for the grandparents. She has twenty minutes before the show.
At the school, the hall is bright. For the class photo she uses 24 MP at 1× and the grid lines. For a portrait of her daughter, she steps back to the 3× lens. The face is shaded, so she opens Expert RAW and tries the Virtual Reflector on Silver, low strength — the face lifts without the background blowing out.
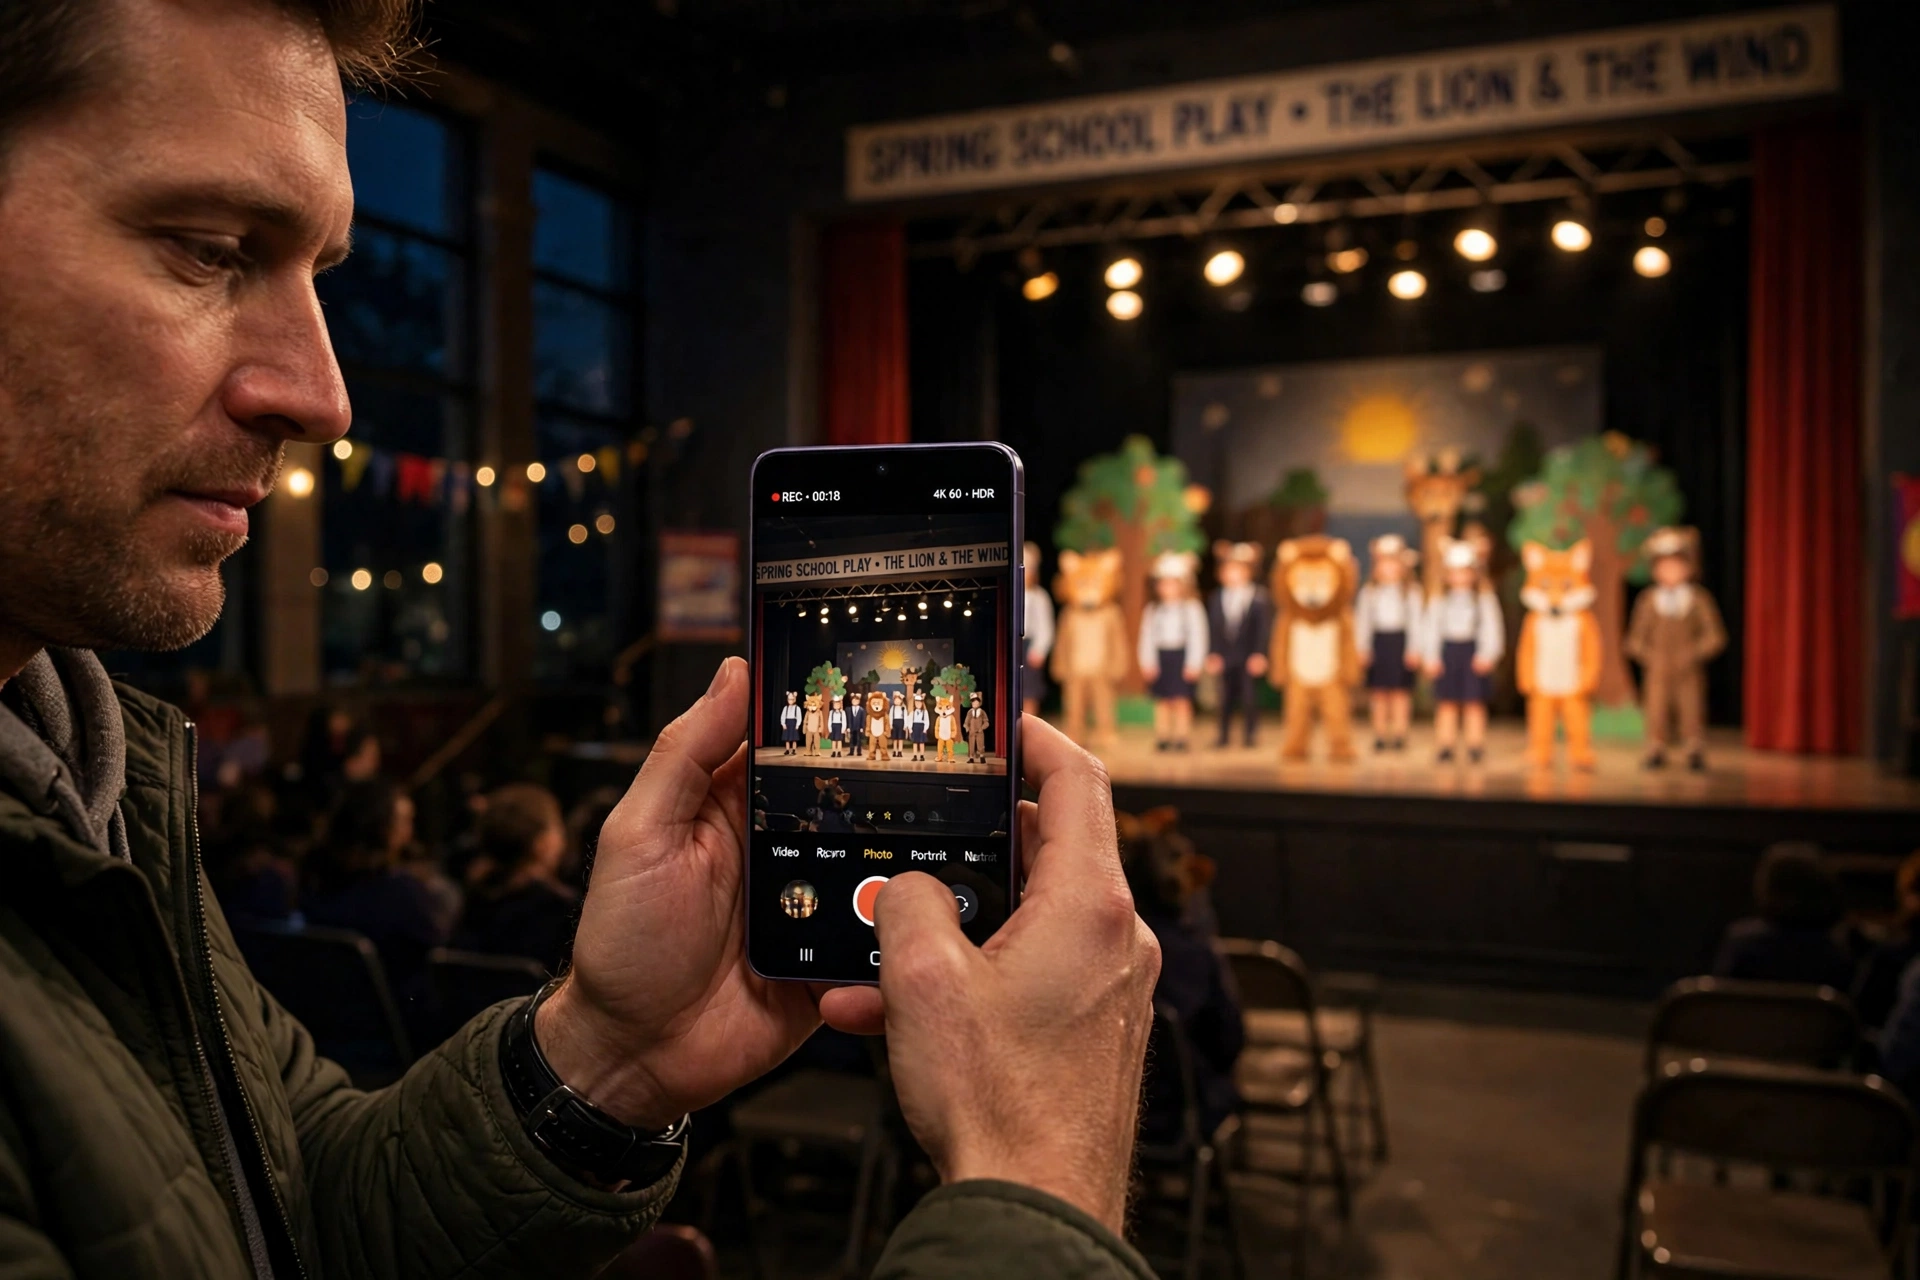
During the play, the hall darkens. She switches to 12 MP — Night mode is on Auto — rests the Samsung Galaxy S26 Ultra camera on the seat in front of her, and takes the shot when her daughter is still. No flash. For video, she uses 4K 30 fps with Super Steady on.
At home, the photos look natural, the portrait looks like her daughter, and the video is steady — five minutes of setup, no new equipment. That is what these five tricks are for.
5 Mistakes That Undo All of This
1. Leaving Auto Flash on. A flash kills Night mode before it starts — with the flash on, the moon icon often never appears. Switch Auto Flash off and leave it off.
2. Turning on 24 MP but forgetting Photo enhancer. If Photo enhancer is on “Balanced” or “Prioritize speed”, the Samsung Galaxy S26 Ultra camera saves at 12 MP even with 24 MP switched on. Check both settings.
3. Shooting Log video and never grading it. Log footage straight from the phone looks grey and lifeless. If you will not open an editing app, do not switch Log on.
4. Using 10× zoom in low light. The 10× setting is a crop of the 5× lens, and in dim light it falls apart. At night, walk closer or use the 5× at most.
5. Letting an update reset everything. Major One UI updates sometimes reset camera settings to Samsung’s defaults. After any big update, spend two minutes checking the cheat-sheet table above.
Your 5-Minute Checklist
Do these in order.
- [ ] Install Camera Assistant and Expert RAW from the Galaxy Store.
- [ ] Photo enhancer → Prioritize quality.
- [ ] 24 MP resolution → On, and Keep 24 MP resolution → On.
- [ ] Scene Optimizer → Off; Picture Softening → Medium or High.
- [ ] Photo format → High efficiency (HEIF).
- [ ] Exposure → −0.3, and Settings to keep → Exposure On, Camera mode On.
- [ ] Auto Lens Switching → Off.
- [ ] Composition guide → On; Tracking auto-focus → On.
- [ ] Video on the Samsung Galaxy S26 Ultra camera: 4K 30 fps, Auto FPS Off, Video stabilization On.
- [ ] Take one test photo in daylight and one at night. If the daylight shot looks natural and the night shot is clean, the Samsung Galaxy S26 Ultra camera is set up.
Conclusion
The Samsung Galaxy S26 Ultra camera is not a camera that needs replacing. It is a camera that needs five minutes of attention. The Samsung Galaxy S26 Ultra camera’s best settings are hidden in a free app or behind a toggle — 24 MP mode, Prioritize quality, Picture Softening, Virtual Reflector, Horizontal Lock. None is complicated once someone shows you where it lives.
Start with Trick 1: switch on 24 MP and set Photo enhancer to Prioritize quality. Then turn off Scene Optimizer and nudge the exposure to −0.3. Those three changes alone will change most of your photos.
Your Samsung Galaxy S26 Ultra camera already has the sensor, the lenses and the software. Now it has your settings too.
FAQs
1. What is the best resolution for Samsung Galaxy S26 Ultra camera?
For most photos, 24 MP. It keeps more detail than the 12 MP default, crops better, and the files stay small. Use 12 MP in low light and for fast action, and 200 MP only in bright light when you plan to crop hard or print large.
2. Is 200MP better than 24MP on the S26 Ultra?
Only sometimes. 200 MP captures the most detail in bright, still scenes, but each photo is 25–40 MB and it needs plenty of light. For everyday photos, 24 MP looks just as good on a screen or in a normal print, and it saves much faster.
3. How do I turn on 24MP mode on my Galaxy S26 Ultra?
Open Camera Assistant (free from the Galaxy Store, or inside the Camera app on One UI 8.5), switch on “24 MP resolution”, and switch on “Keep 24 MP resolution”. Also set Photo enhancer to “Prioritize quality” in Camera settings, or the phone will still save at 12 MP.
4. Why does my S26 Ultra shoot at 12MP by default?
Because of pixel binning: the phone groups sensor pixels together to make a cleaner, smaller file. It is the safest default for most people. It is also the reason a 200 MP camera can take photos that look ordinary — the fix is the 24 MP setting above.
5. Does the Samsung Galaxy S26 Ultra camera shoot 8K video?
Yes — 8K at 30 fps, and 4K at 120 fps for slow motion. For most people, though, 4K at 30 fps (or 60 fps for movement) is the better choice: 8K clips run hot, take up far more storage, and most screens and social apps cannot show the difference.
6. What is Camera Assistant on Samsung Galaxy S26 Ultra?
A free Samsung app (a Good Lock module) that adds extra camera settings the main Camera app does not show: 24 MP mode, picture softening, Auto Lens Switching, Quick tap shutter, and the standalone Night mode. On One UI 8.5, its settings appear inside the Camera app itself.
7. How do I use Night mode on the Galaxy S26 Ultra?
In Photo mode, look for the moon icon when it is dark: Auto is right most of the time, Max is for still scenes where you can hold the phone steady for a few seconds. To get the old standalone Night mode back, go to Camera Assistant → Additional modes → Night. Use 12 MP at night, not 24 MP, and rest the phone on something solid.
8. What is Log video on the S26 Ultra camera?
Log is a flat, grey-looking video format that keeps more colour information so you can grade it later with LUTs (cinematic looks like Blockbuster or Romance). It only makes sense if you will edit the footage. Shared straight from the phone, Log video looks worse than normal video.
9. Which lens should I use for portraits on the S26 Ultra?
The 3× telephoto first, and the 5× telephoto in good light. Both flatten faces naturally and blur the background. Avoid the 1× main camera up close — it widens faces. Switch off Auto Lens Switching in Camera Assistant so the phone does not change lenses on you mid-shoot.
10. How much storage does S26 Ultra APV video use?
About 6 GB per minute at 4K 30 in high quality — roughly 17 times more than normal HEVC 4K 30, which uses about 350 MB per minute. On a 256 GB phone that is roughly 40 minutes of APV video, against about 8 hours of HEVC 4K 60. Keep APV for footage you plan to grade professionally.